

Just Added To Cart

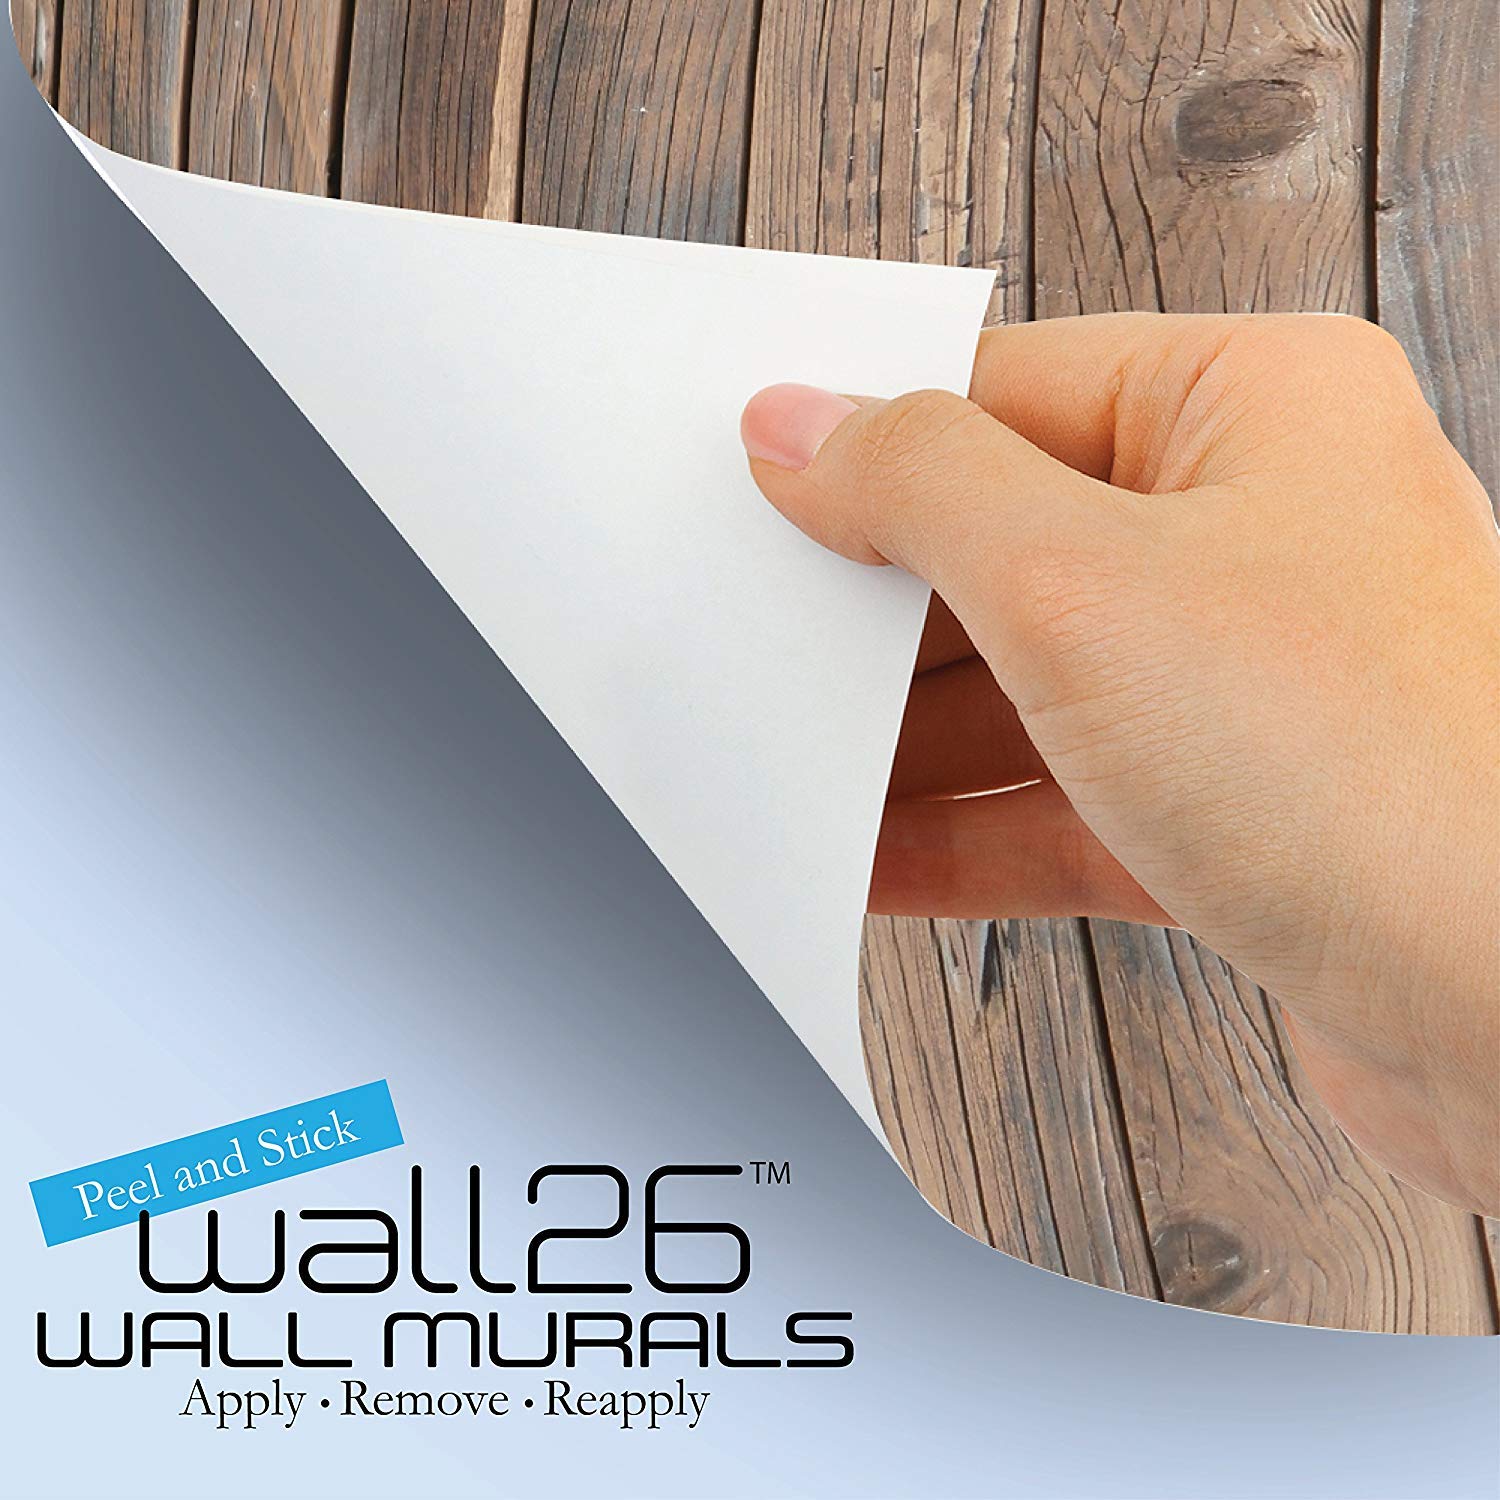
Self-Adhesive Wallpaper Large Wall Mural Series (100"x144", Artwork - 27)
Size:
Quantity:
Price: $
You May Also Like
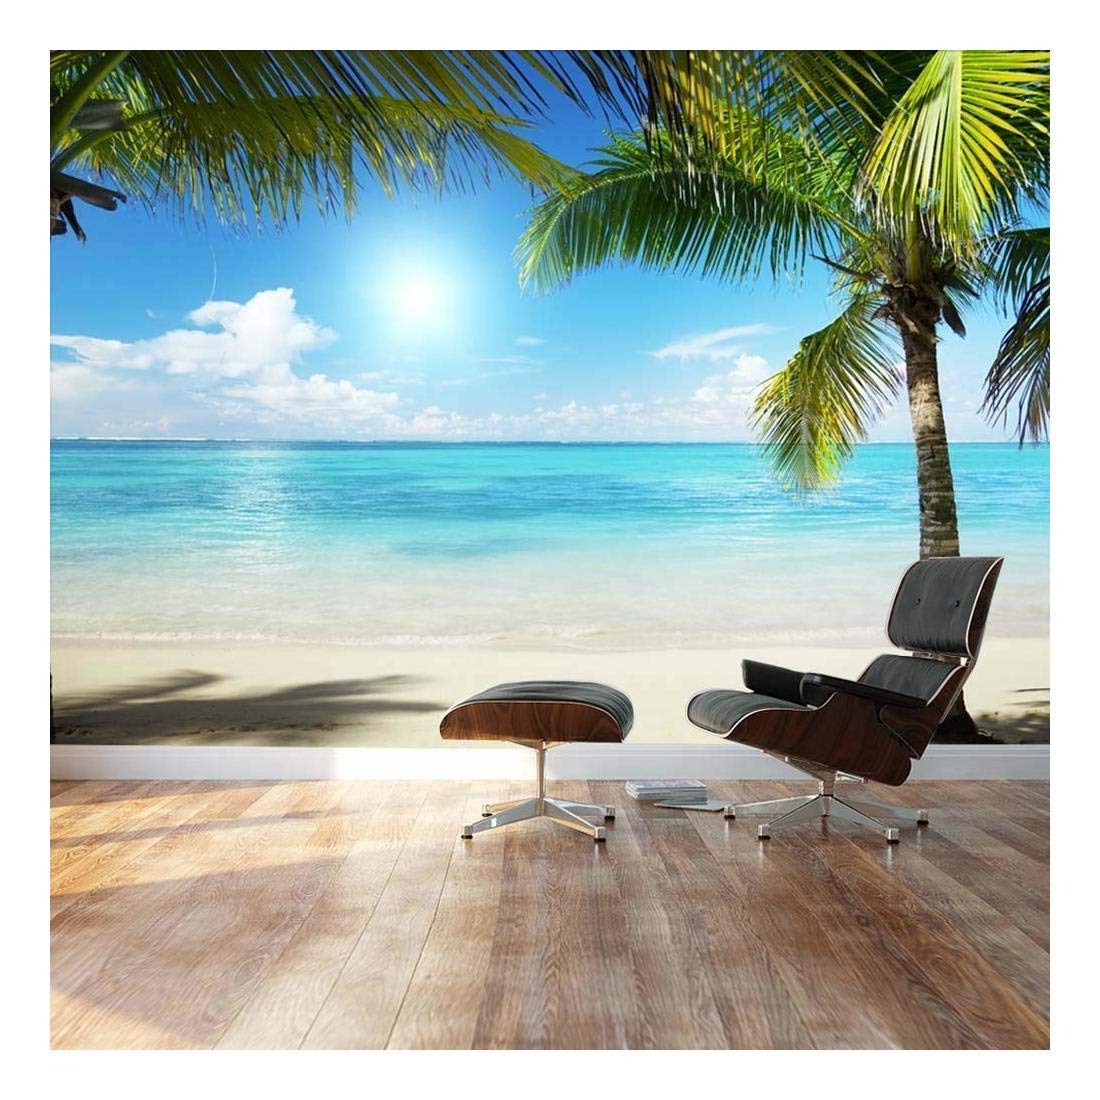


Self-Adhesive Wallpaper Large Wall Mural Series (100"x144", Artwork - 27)


Similar Artworks


Explore More Collections

Nature Wall Art
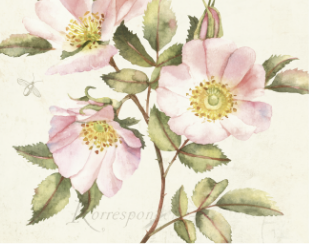
Floral & Botanical

Flower Wall Art
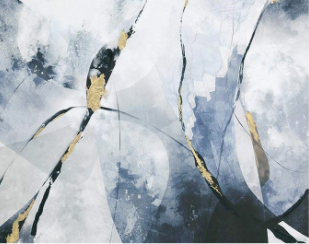
Abstract Wall Art
See All Best Sellers
See All Collection
Self-Adhesive Wallpaper Large Wall Mural Series (100"x144", Artwork - 27)
- Make sure this fits by entering your model number.
- Parent Listing
- Parent Listing
- Parent Listing
- Parent Listing
- Parent Listing
Parent Listing
Browse More Wall Art


1 - Start right and go left because they overlap about an inch and a half. So put up #6 panel first, and then # 5 over # 6.
2 - No ceiling is straight! So we decided what we should have done, is use a laser level and made a line up at the ceiling where you start to hang the panel. That way you start the first one straight. Ours look ok but, up at the ceiling the gap from right to left get wider because the first one wasn't straight. Thank goodness it's repositionable because the first time was really bad and we took the whole thing off and put it back on the backing. And it visually looked straight but you don't have to be off by much to to be significantly off for the rest.
3 - I haven't cut through to remove the overlap yet, as you can see in the picture, because I'm a bit scared. But I will because it bugs me. I seen on YouTube how to do it. Basically you use a straight edge and a very new sharp razor/box cutter and go right down the middle being careful to go all the way through both panels. Then you start at top or bottom and pull one side off, then the scary part, you pull back up at the the paper and pull the other cut side then push panel back down and together. I will do it, but my husband says he want nothing to do with it.
Hope this helps!
The mural does look fantastic, though, if you can cover up the gap, as we did with a bookshelf.
(1) Get a level and find the high spot in the ceiling. Lay your panels out, realizing that you will have about a 2" overlap on each one, though it varies from panel to panel. Start in the "HIGHEST" spot. If you start in the low spot, and proceed level across the room, you'll have a gap on the wall when you get to highest spot on the ceiling.
(2) Mark a vertical plumb line before you install your first panel.
(3) this requires two people to install properly. One person on a ladder... peel the first six inches from the top. have a rag in your pocket. get your positioning perfect BEFORE you stick it to the wall.
(4) Hand the pealed backing to your helper. Have them reach around both sides of the panel and pull down, evenly. Meanwhile you want to use your clean rag and work from the center out, working back and forth, just above the peal line, to reduce air bubbles. If you have to unstick this from the wall, you will stretch it, and then eliminating bubbles will become near impossible... though even with some bubbles, it still looks AMAZING!
(5) when you get to the bottom, decide if you are cutting it off at the baseboard, or at the carpet. This is slightly longer than an 8' high ceiling so you should have issues with either option.
(6) when you start your next panel, spend some time getting your overlap and alignment correct. Consider using post-it notes to mark where edges should start and end... and arrows on the post-its for vertical alignment, as you'll be cutting parts off the top of the panels if your ceiling isn't level. Then peel your top 6 inches, and go back to steps 3 and 4.
My wife and I are entrepreneurs #inSearchofAdventure looking for ways to #MakeLifeMoreEpic and this banner in our office reminds us every day to live the dream, and acts as a giant vision board to keep us focused on building a life that we don't need a vacation from.